

Table of contents
How to create a gallery wall
Ten small frames hung at random, and the wall starts to shout. It is the most common mistake: people drill as soon as the frames are in hand, with no plan, and the result looks messy without anyone knowing why. A successful gallery wall is never down to luck. It rests on a simple method that decorators always follow in the same order: compose before you drill.
In this guide you will see how to set an invisible grid, why 5 cm of spacing makes all the difference, how to choose your anchor point, and the paper-template trick that keeps you from drilling a wall for nothing.
What is a structured gallery wall?
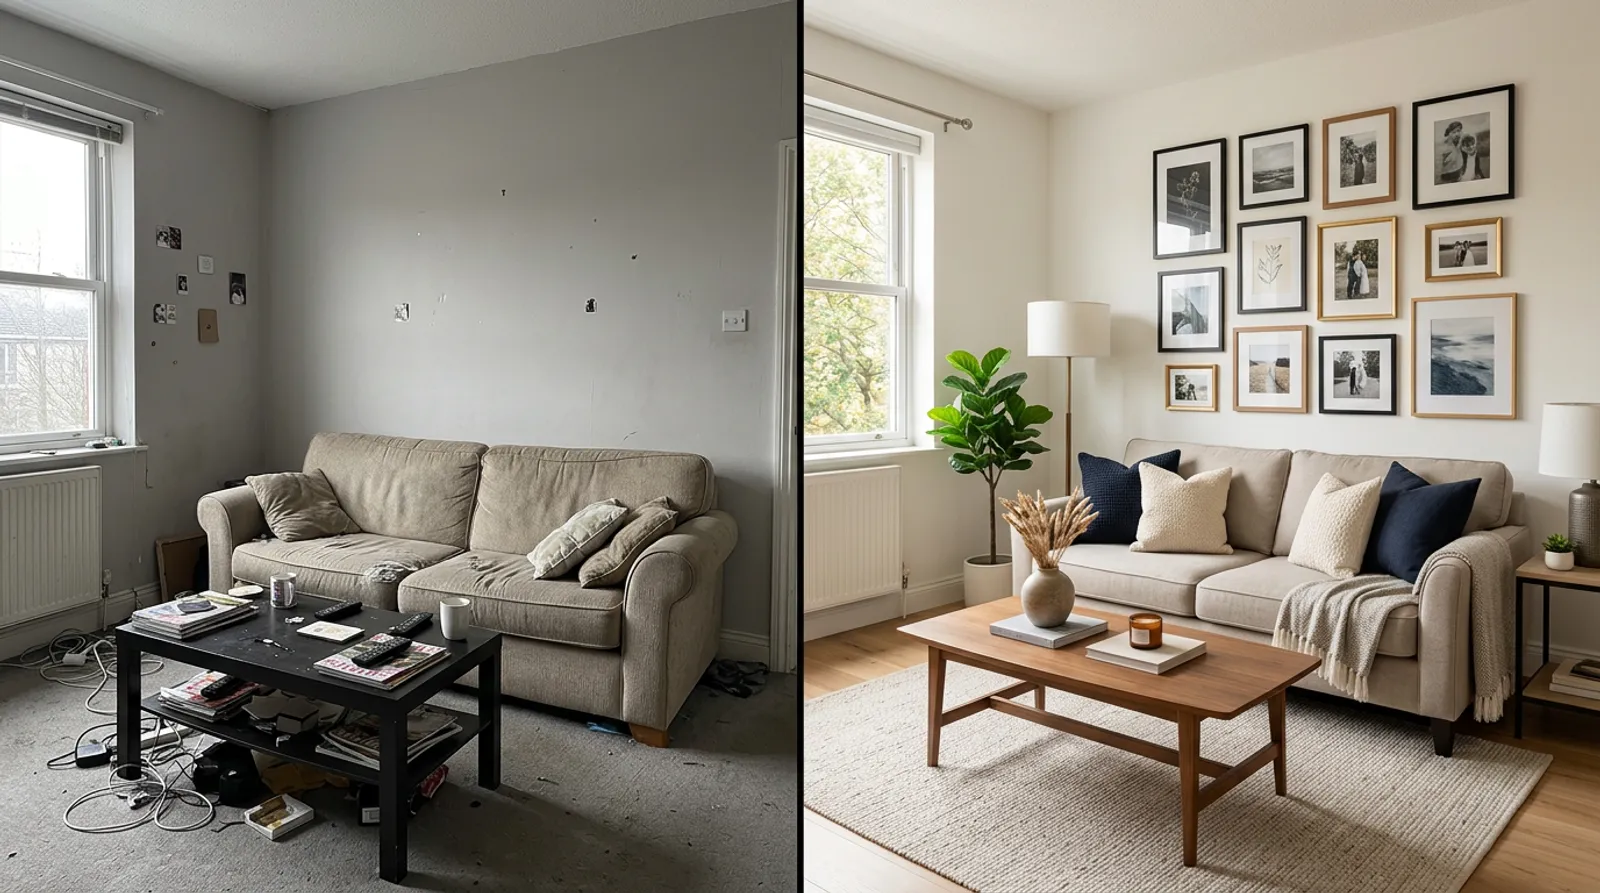 Design idea: a balanced gallery wall created
A gallery wall is a set of paintings, photos and prints hung together to form a single composition. The difference between a wall that impresses and a wall that shouts is not about the number of frames or their price: it is about structure.
The key principle: all your frames, even at different sizes, should look like they belong to one rectangle. That regular outer shape is what turns ten scattered objects into a single piece. The rest of this guide gives you the three steps to get there.
Step 1: the invisible grid
Lay all your frames on the floor, never directly on the wall. On the floor you move pieces freely and test without drilling.
Now imagine a rectangle that encloses every frame. That is your invisible grid. The outer edges of the composition should stay aligned with this rectangle, even if the frames inside are different sizes. This outer shape is what creates the sense of unity: the eye reads a clean form, not a scatter.
Step 2: even spacing
This is the step that separates the amateur from the professional. Leave 5 cm between every frame, and keep that gap strictly identical everywhere.
- 5 cm is the reference: tight enough to read as one group, open enough to breathe.
- The gap must be the same between all frames, horizontally and vertically.
- Avoid at all costs a mix of 3 cm, 8 cm and 12 cm, which breaks the harmony.
Regularity comes first. Measure each gap instead of judging it by eye: it is this 5 cm detail, repeated without exception, that makes the difference between a clean result and a sloppy one.
Step 3: the anchor point
Every composition needs one strong visual reference. Your largest frame plays that role: it is the anchor point, and the other frames gravitate around it.
Place that large frame in one of these two spots:
- at the center of the composition, for a balanced, symmetrical look,
- or in the lower-left corner, for a more dynamic look that draws the eye upward.
Once the anchor is set, arrange the medium and small frames around it, always keeping your 5 cm gaps. The eye then knows where to rest, and the whole thing stops pulling in every direction.
The paper-template trick
This is the method no one thinks to use, yet it is the most effective way to avoid drilling blind.
- Cut sheets of paper to the exact size of each of your frames.
- Tape these templates to the wall, in their planned spots, keeping your 5 cm gaps.
- Live with the composition for 2 days and adjust whatever bothers you each day.
- When the layout feels right, drill by replacing each paper with its frame.
Two days of observation reveal what a photo taken in the moment cannot show: a frame hung too high, an awkward gap, an imbalance. The patience here saves you a dozen useless holes.
Adapting the composition to your room
A gallery wall keys off the furniture below it. Above a sofa or a sideboard, the composition works best when it does not exceed the width of the furniture: its rectangular outer shape then stays centered and coherent. For the hanging height, the same common sense applies as for a single frame: see our guide on picture hanging height.
If you mix frames and wall shelves, treat the whole thing as one composition and keep your gaps even. Our pointers on shelf height and styling will help you line it all up.
The mistakes that make a gallery wall shout
- Drilling with no plan: hanging ten frames at random is the number one cause of a messy-looking wall.
- Uneven spacing: alternating 3 cm, 8 cm and 12 cm breaks the rectangular outline and the eye feels the imbalance.
- Composing straight on the wall: without the floor stage, you can no longer move anything and you drill blind.
- Forgetting the anchor point: without the largest frame as a reference, the composition floats and pulls in every direction.
- Skipping the paper templates: dropping the 2 days of observation means losing the only risk-free test you have.
All five traps are solved upfront, on the floor and on paper, never once the drill is in hand.
The 5 golden rules to remember
- The difference between amateur and pro is 5 cm of even spacing.
- Compose on the floor first. Always, never directly on the wall.
- Paper templates for 2 days. Patience makes perfection.
- The anchor point is the largest frame. The others gravitate around it.
- Even spacing: not 3 cm, then 8 cm, then 12 cm.
Test your gallery wall on your room
Imagining a composition on paper is a start; seeing it on your own wall is more convincing. With Shopia, you photograph your room, pick a style, and get a realistic render in a few minutes. You can compare before and after and try several frame arrangements before reaching for the drill.
Frequently asked questions
How much space should I leave between frames on a gallery wall?
Leave 5 cm between every frame, and keep that gap identical everywhere. This is exactly what separates an amateur result from a professional one: a regular spacing creates instant harmony, while a mix of 3 cm, 8 cm and 12 cm looks messy. Measure each gap instead of judging it by eye. The regularity matters more than the exact value, but 5 cm stays the safest reference.
How do I plan a gallery wall before drilling?
Cut sheets of paper to the exact size of each frame and tape them to the wall. Live with that composition for 2 days and adjust whatever bothers you each day. When the layout feels right, drill by replacing each paper with its frame. This step saves you a dozen useless holes and lets you test the whole arrangement with no risk.
Which frame should I start with on a gallery wall?
Start with your largest frame: it is the anchor point that everything else gravitates around. Place it at the center of the composition or in the lower-left corner, then arrange the other frames around it. Compose on the floor first, never directly on the wall, so you can move pieces freely. Once the anchor is set, the eye knows where to rest and the composition holds together.
Related articles

How high to hang a picture or frame
The decorator's simple rule: place the center of a frame 145-150 cm from the floor, at eye level. Exact heights above a sofa, a bed and in a gallery.

Shelf height and how to style your shelves
The right heights to hang your shelves and a simple method to style them without clutter, with concrete measurements in centimeters.

Living room ideas: design a warm, welcoming space
Everything about living room decoration: palette, furniture, lighting, styles that work and 7 tips for a warm, inviting space.